iCheckIn V2 Tutorial
This document will provide a quick walkthrough of using the second edition of the iCheckIn app for Learning Tree instructors.
Note that since the app can be updated at any time, and may render differently on different devices, these screen shots may not be exactly what you see. Do the best you can in translating what you see here to what you see on screen.
First Steps
Install the app from the Google Play Store or the Apple iOS App Store.
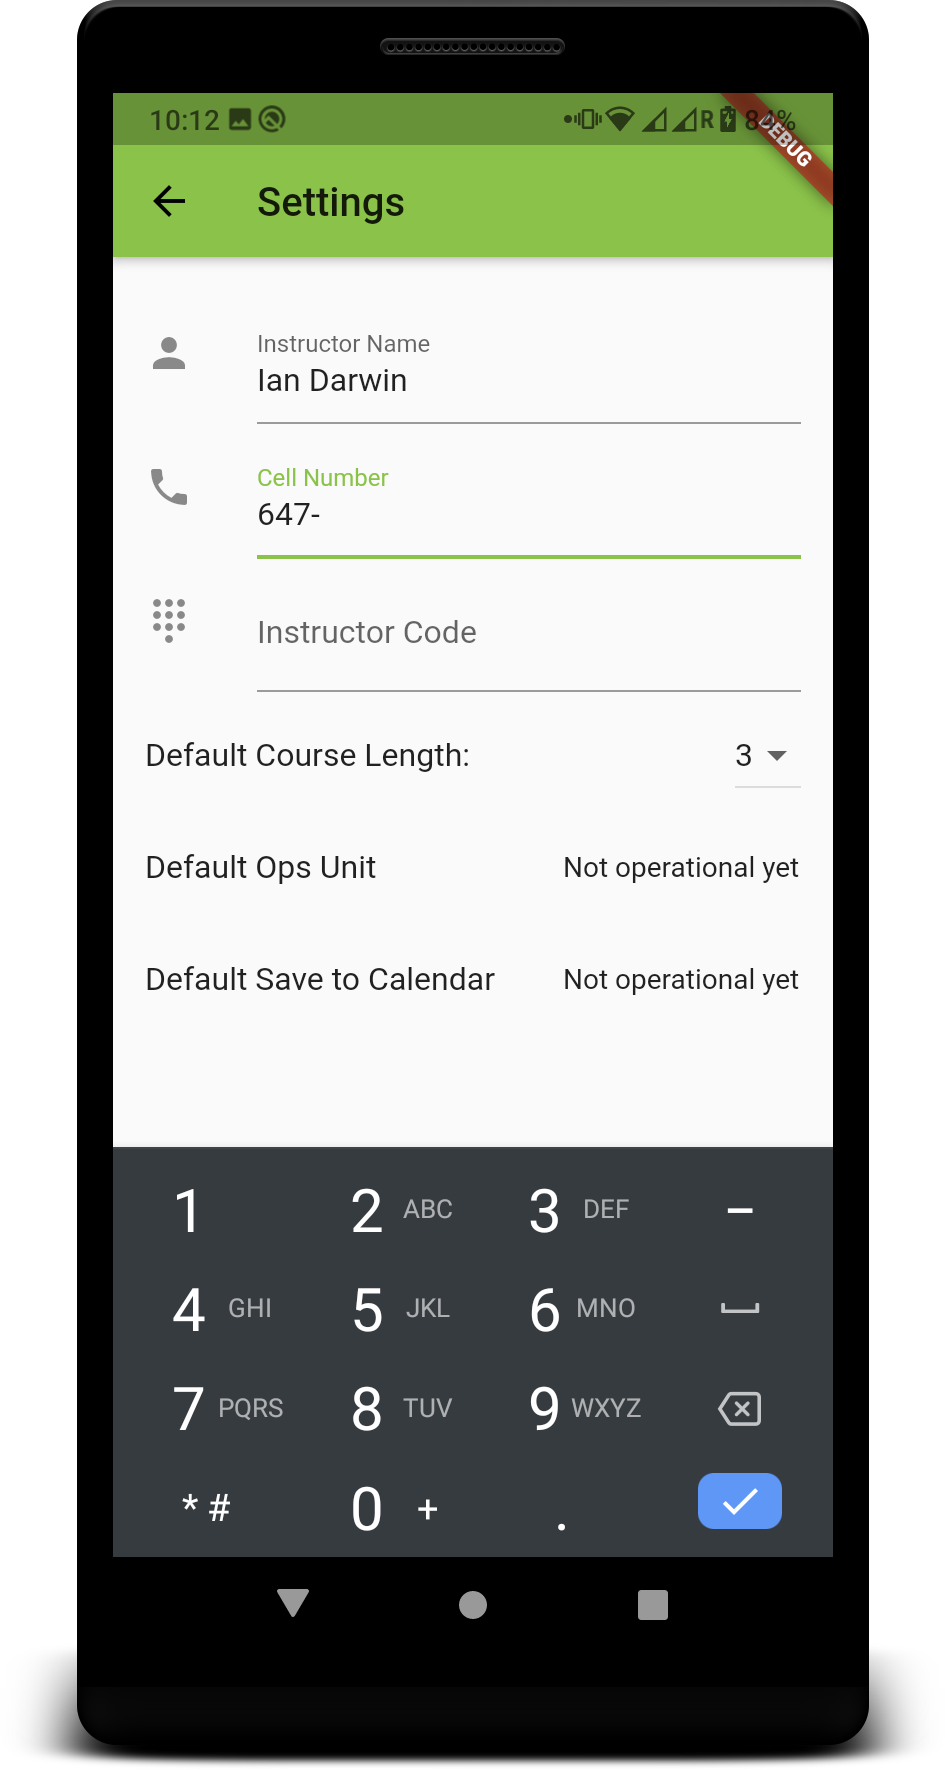
Invoke the app and you should wind up on the Settings screen to perform initial setup. The app will need your name, phone number, and your iCheckIn instructor code (which you get from your IR team).
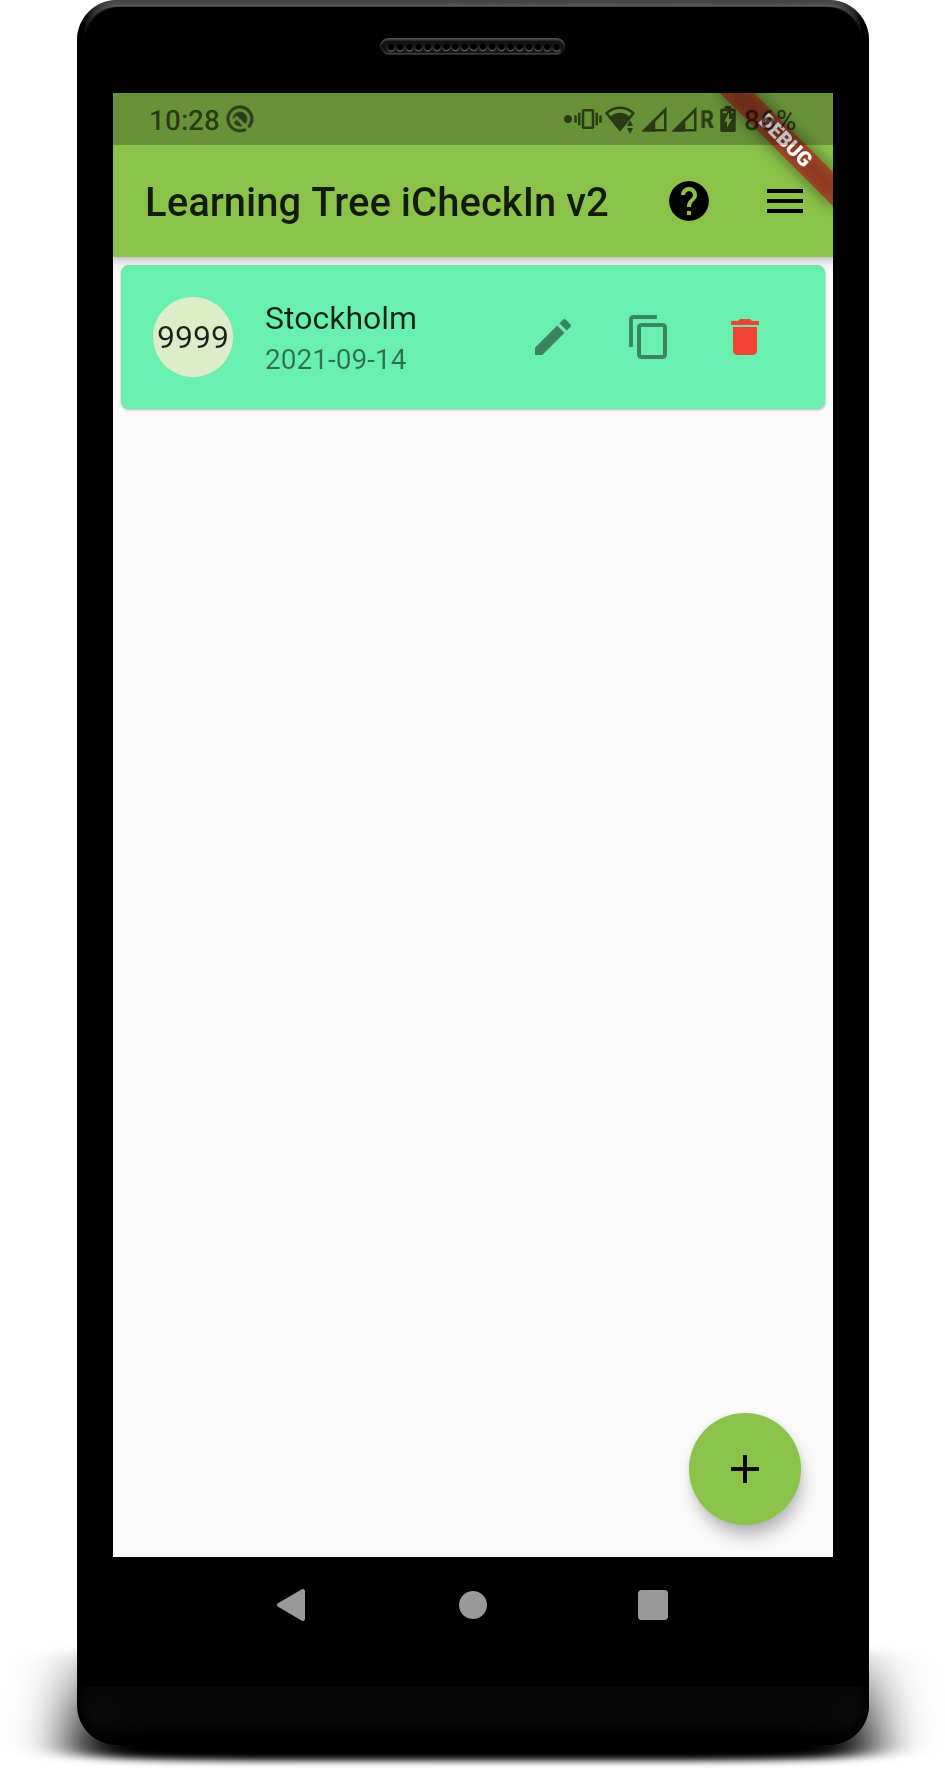
After completing this you should see the empty initial list (unless you are migrating from V1 of the app on Android).
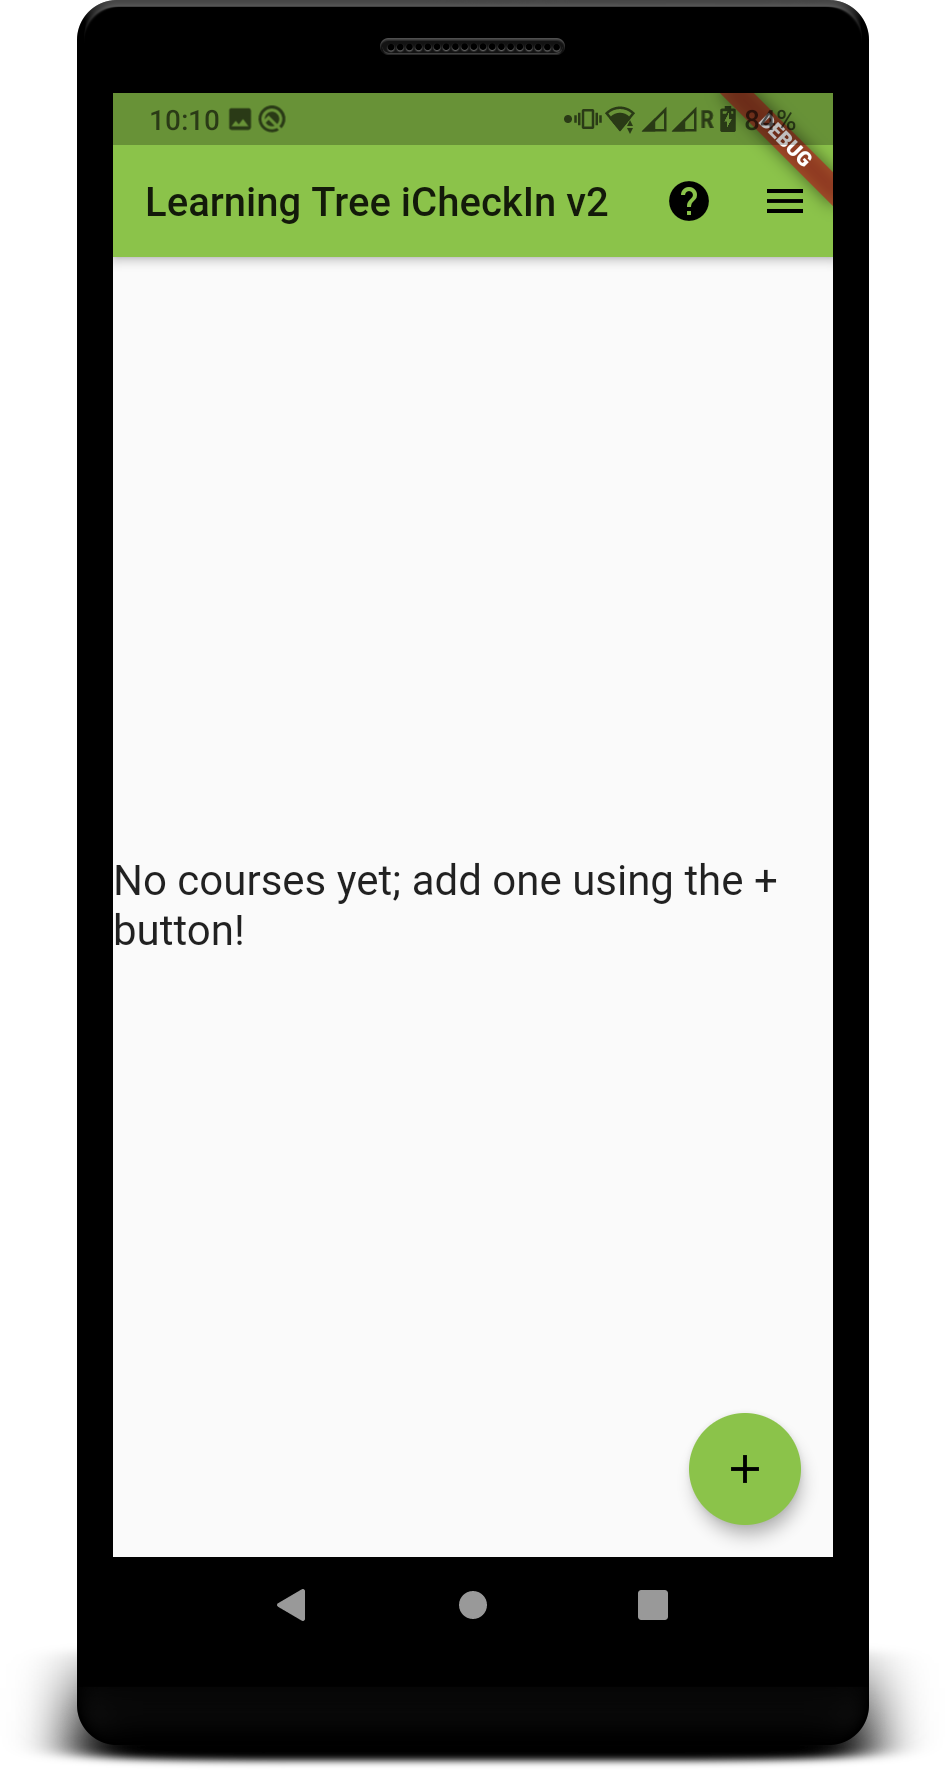
Now it’s time to add a course that you are going to teach. Press the "+" button in the lower right.
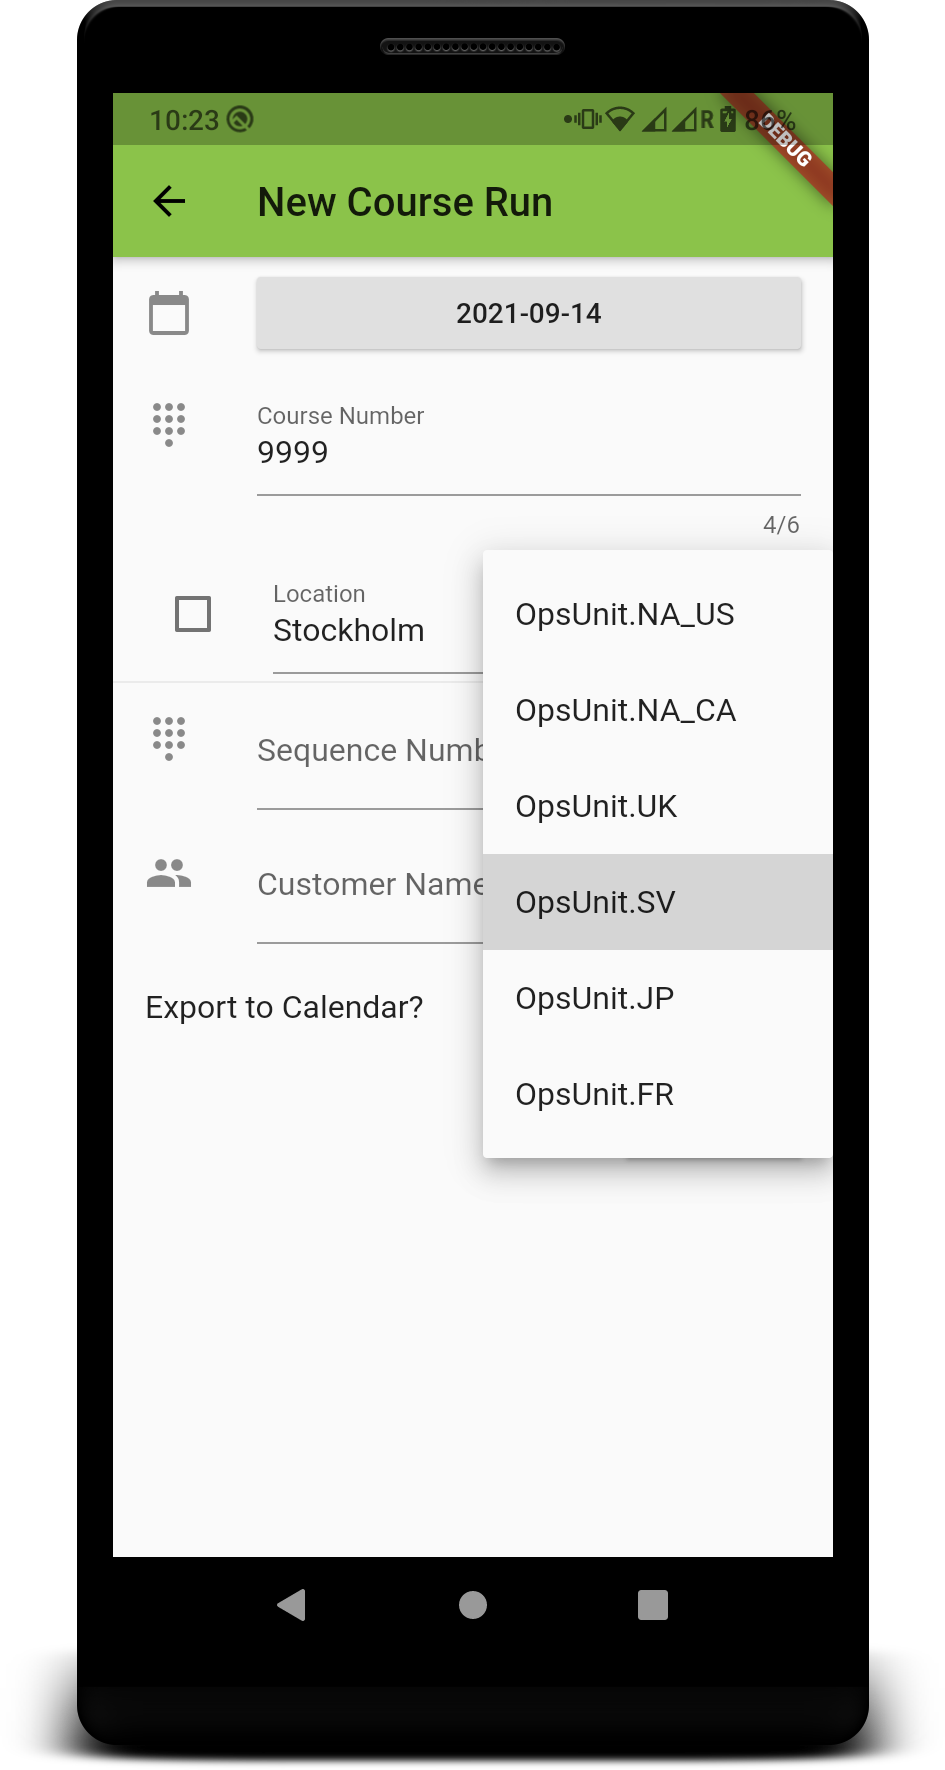

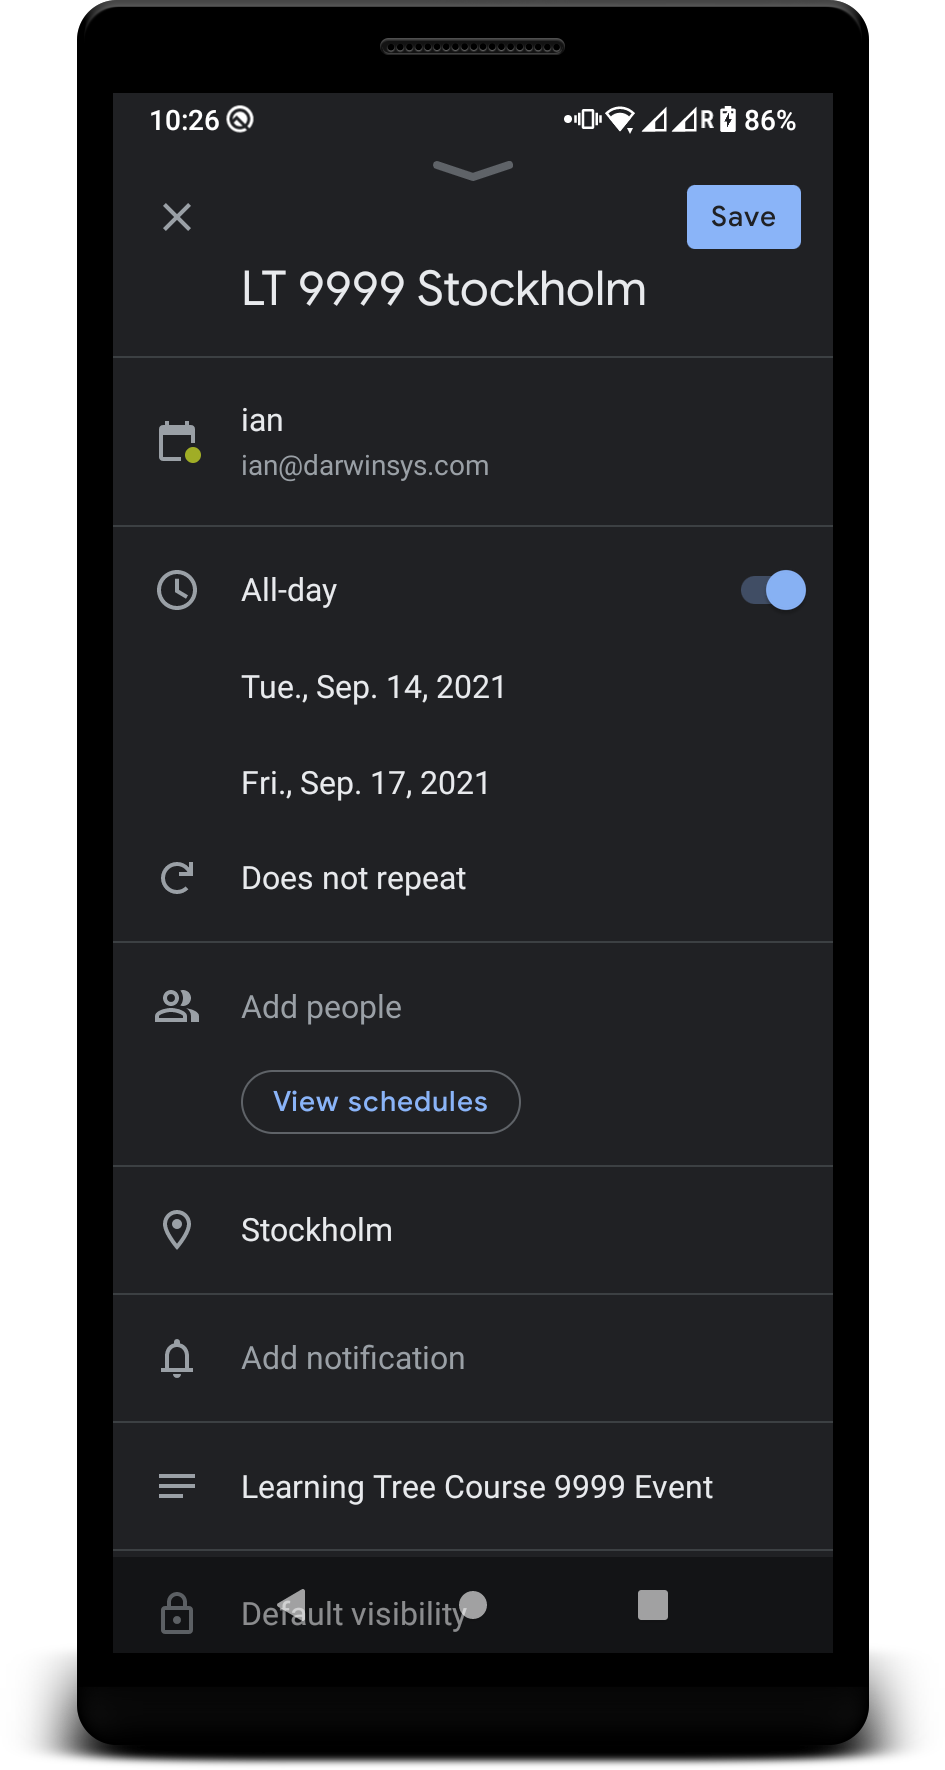
If you didn’t un-check the "Add to Calendar" checkbox above the Save button, you will be taken to your calendar application to enter the course, with the details filled in.
So the days pass, and eventually it’s time to start the course. Usually the day before, and sometimes the morning of, you need to let IR know that you have arrived at the course site or, for Home Studio courses, that you are ready to go.
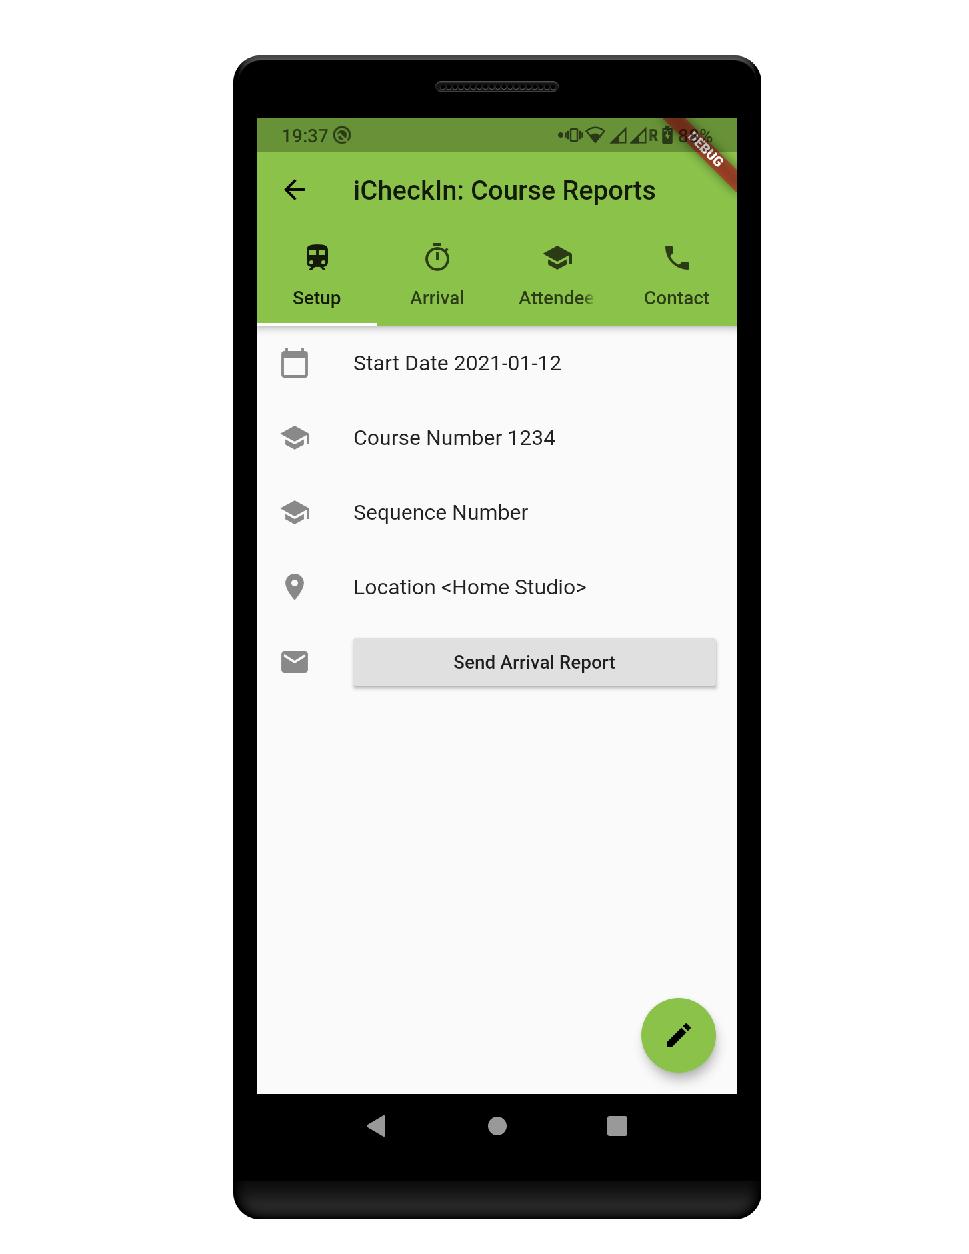
Press the Send buttonbar at the bottom, and iCheckIn will format an email message and hand it off to your device’s mail system. You have a chance to change the email before you press Send in your mail client.
After you’ve done the equipment setup (if there is one for today’s ourse), you can send the Setup details on the Arrival screen. This is fairly self-explanatory. Don’t forget the Send button at the bottom; on some devices you may need to scroll down to see it!
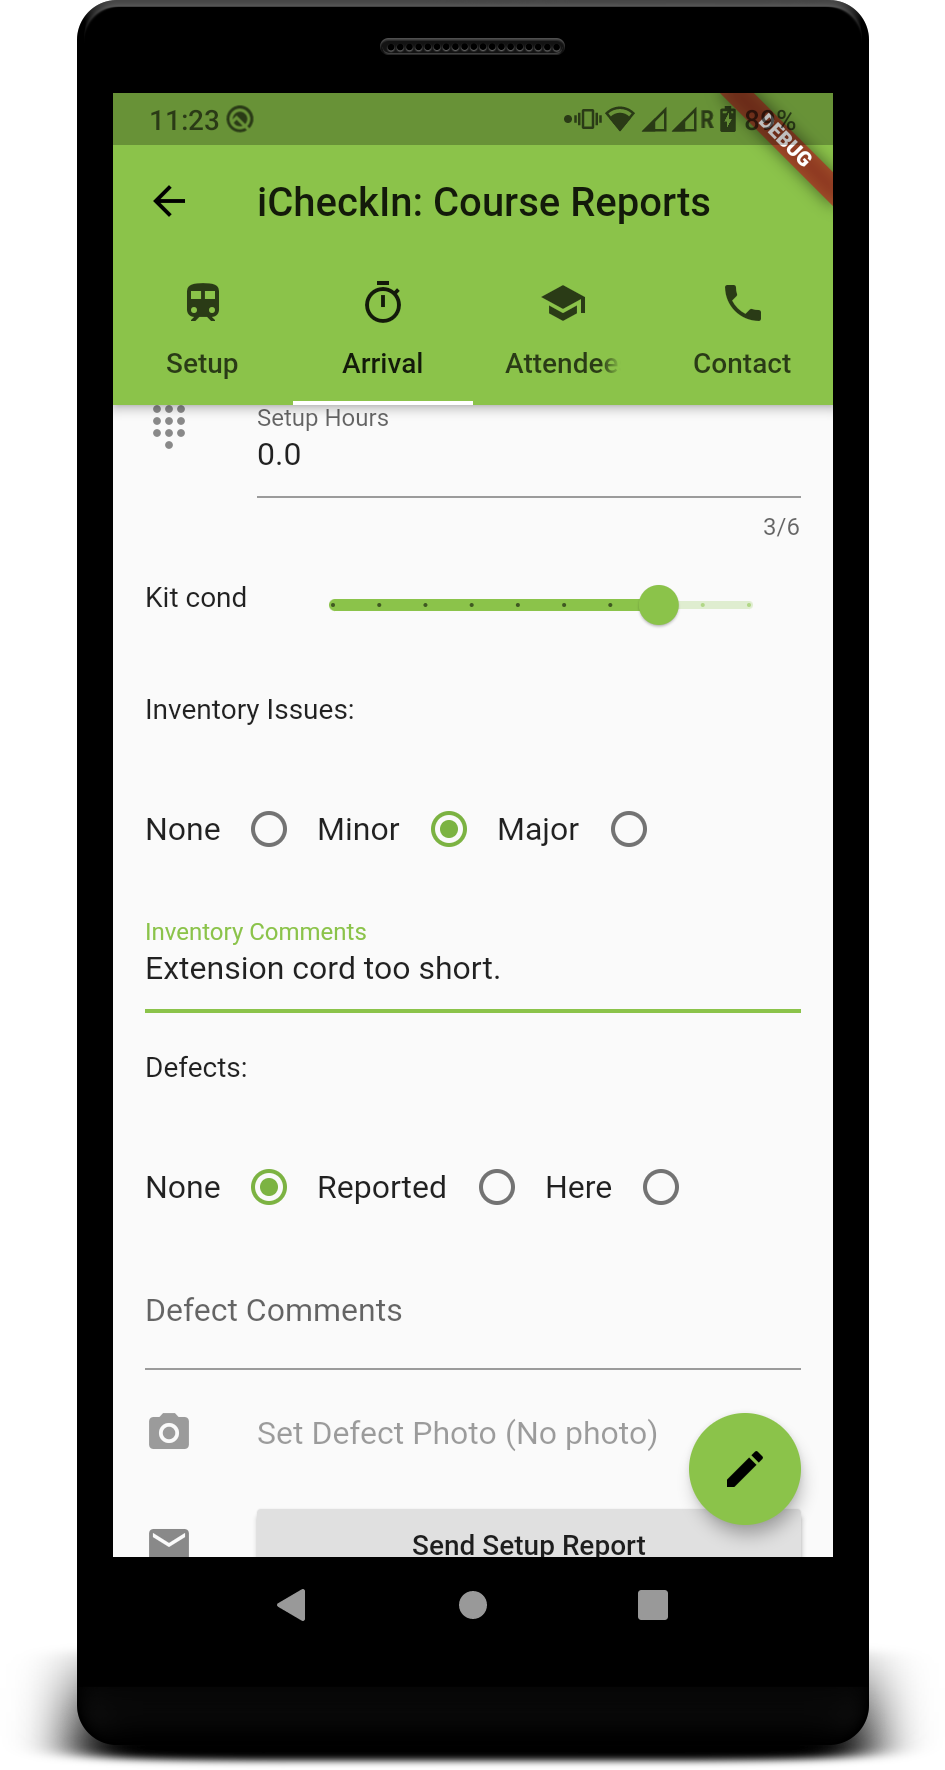
There is also an Attendee tab for the registration sign-up page at an onsite course.

After a few course runs, your List will start to fill in. Past courses will appear with a gray background; current and future courses with a light green background.
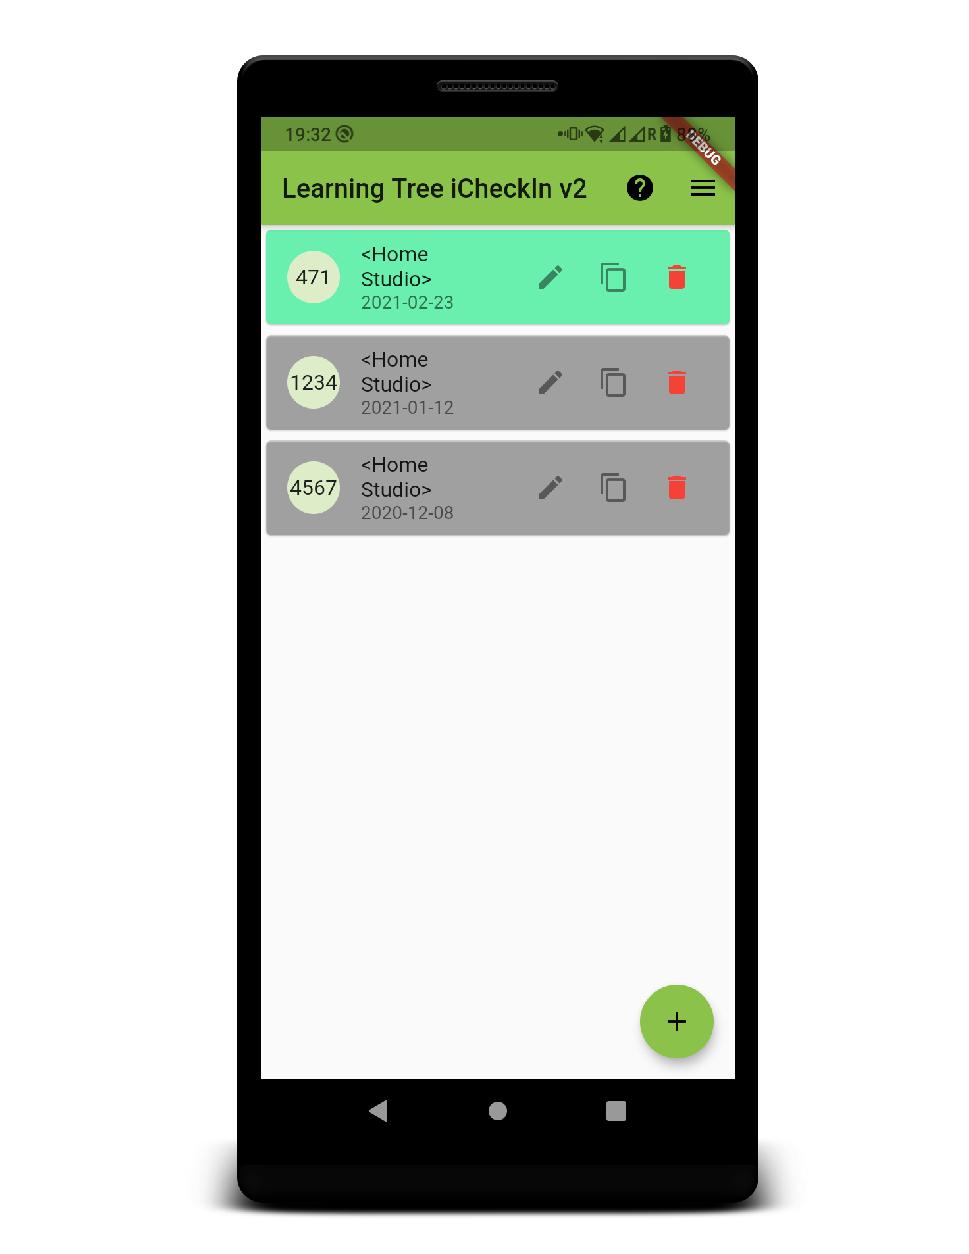
Note the three icons on each course bar. The Pencil icon lets you edit the course parameters (date, course#, location, etc.) if you made an entry error or if the course gets re-scheduled. The Copy icon makes a duplicate of the course - useful if you have multiple runs for the same client, you just have to change the start data on the new copy. Finally, in red, we have a Delete button. There is no confirmation for this, but there is an Undo. There is a "snackbar" message at the bottom with an Undo button. But snackbars only last about five seconds. If you miss this, don’t worry; Undelete is also in the Main Menu (see below). Note: There is only one level of undo at present.
For most other things, there is a Menu on the List page. Access it by swiping in from the left or from the hamburger menu icon.
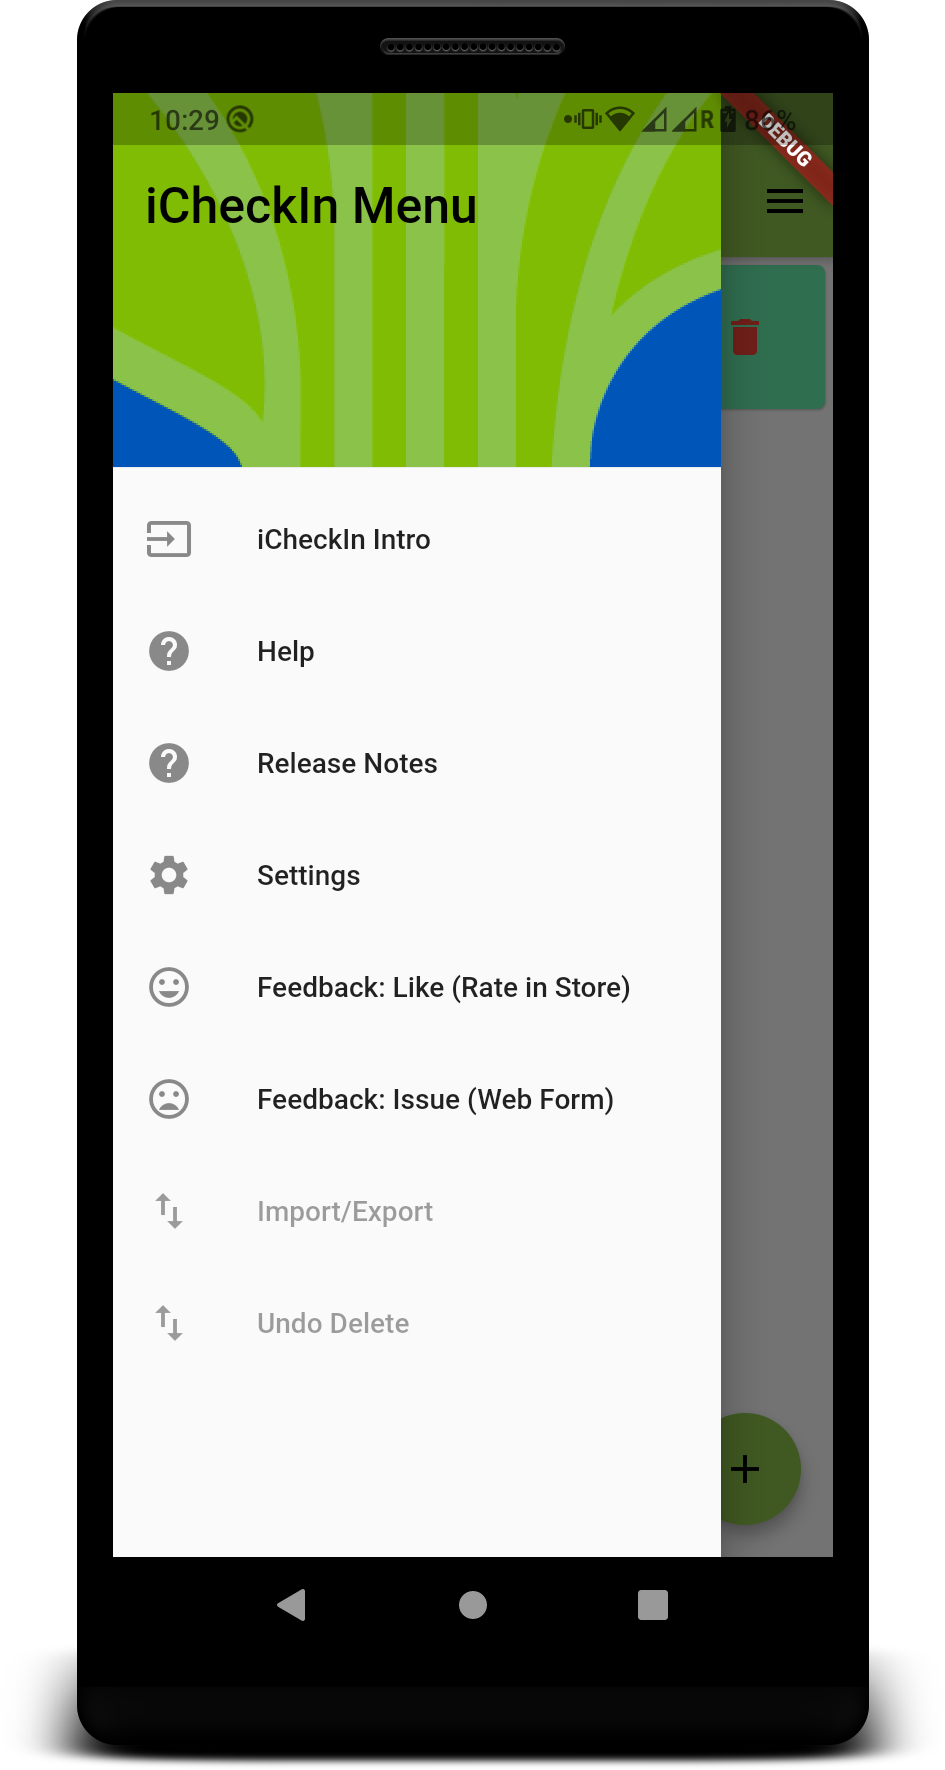
This completes our brief walkthrough of the V2 iCheckIn application. Hopefully it will make your life easier. As always, in case of problems, please let me know either via the in-app Issues button (in the main menu) or at https://darwinsys.com/contact.